Assessments
Recording assessment data
Assessment data comes in two forms: Reading and Diagnostic. Reading relates to Lexonik Advance and Flex programs and Diagnostic refers to the Lexonik Leap program.
First steps
After you launch the assessments app, do either of the following steps:
- On assessments overview view, navigate to the assessment profile, click the add (Reading/Diagnostic) shortcut
- On assessments overview view, navigate to the assessment profile, click the Actions Menu on the far-right hand side, then click Add (Reading/Diagnostic).
You should know!
An assessment profile needs to be created before you can add assessment data.
Pre-setup (optional)
Make your intentions clear with your assessment profiles by setting up the initial mandatory fields for an assessment. This will allow you to organize and group records for easier management in advance of full assessment information.
Mandatory fields:
| Data | Test | Tags |
|---|---|---|
| Reading | Y | Y |
| Diagnostic | N/A | Y |
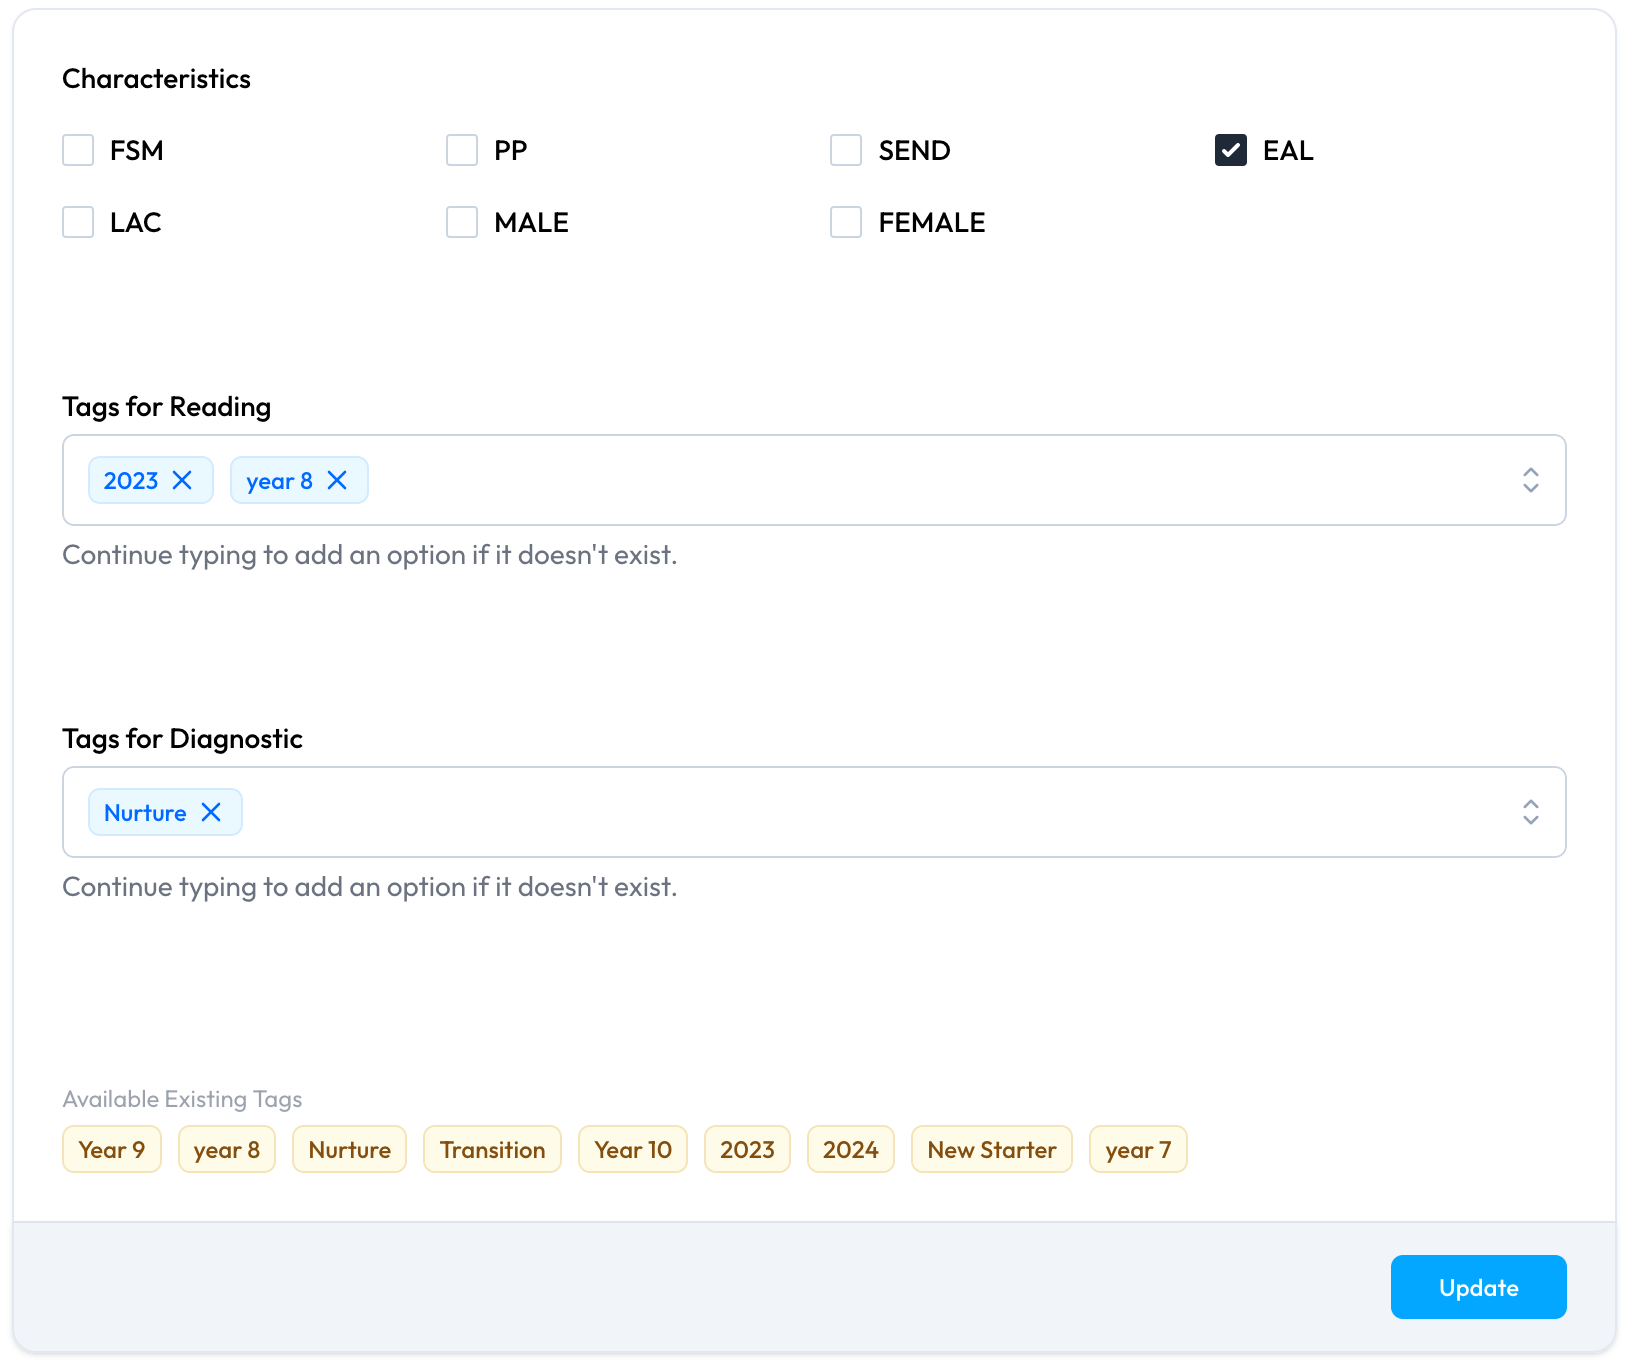
Tagging data
Characteristics can be attached to an assessment profile, but bespoke tags can be created and applied to assessment data. Tags can be created via the assessments overview view and will appear within filtering once created.
Tags can be attached to assessment data either at the point of creation or retrospectively via the assessments overview under the Actions Menu.
Intervention Grouping (optional)
Assessment data can be grouped to reflect the intervention groupings. A maximum of 4 learners can be grouped together. Grouped reading assessments will allow you to update all group data in one place.
| Data | View group data** | Export data | Print certificate |
|---|---|---|---|
| Reading | Y | Y | Y |
| Diagnostic | Y | N | N |
** View group data
- Reading group data allows for average scoring to be shown
- Diagnostic group data will allow you to view the learners' progress side by side.
- It allows you to see the learners’ scores for all 6 steps of the diagnostic assessment and therefore supports you/trained staff with session planning.
- This also allows for the easy identification of shared gaps in knowledge and therefore what sounds/words need to be taught.
Tags should be used if you want to link more than 4 learners. The group functionality is only intended to link learners who have experienced the taught intervention together.
![]()
The same group icon is seen in diagnostic and reading assessments. Clicking on the group icon will allow you to select ungrouped learners to form a group or, if you have already grouped learners, will show you the assessment records for all learners.
Reading data
Adding reading
Select the test administered from the drop-down input, as well as the member of staff responsible for delivering the subsequent intervention with the learner. Tags can be added from this window. Adding the test date and raw score will automatically calculate the learner’s reading age and standardized score.
Please note: data must be entered in full for automatic conversion.
The assessment indicators visually represent the progression of the reading data from pre-setup, to pre and then finally to pre and post. Once the post data has been added, the reading age gain is noted in months along with the standardized point gain against the learner’s name in the assessments overview.

Updating reading
When you’re ready to update a learner’s reading assessment with the post-test information, do either of the following:
- On assessments overview view, navigate to the assessment profile, click the edit reading shortcut. Update the assessment accordingly and save.
- On assessments overview view, navigate to the assessment profile, click the Actions Menu on the far-right hand side and click Reading. Update the assessment accordingly and save.
As soon as pre and post information is recorded the reading gain and standard point gain is calculated.
Tip!
If the learner’s assessment is grouped, then you can update the reading assessment for all learners at the same time.
Diagnostic data
There are in-application guidance notes for administering the diagnostic assessment which mirror those in the Lexonik Leap training manual.
The diagnostic assessment corresponds to the sections of the diagnostic prompt sheet the learner reads from. The diagnostic prompt sheet is included as part of the Lexonik Leap delivery materials. By use of the buttons, the learner's responses are noted across all 6 sections of the diagnostic. The results of this assessment allow trained staff to plan their teaching sessions.
Carrying out a Diagnostic
When carrying out an assessment adding and updating the assessment is exactly the same process. You can do this by any of the three options below:
On assessments overview view, navigate to the assessment profile, click the add/edit diagnostic shortcut. Update the assessment accordingly and save. This will register an attempt in the history.
On assessments overview view, navigate to the assessment profile, click the Actions Menu on the far-right hand side, then click Diagnostic. Update the assessment accordingly and save. This will register a new attempt in the history.
Click Diagnostics at the top of Assessments overview and from the diagnostic view, click on the learner’s name. Update the assessment accordingly and save. This will register a new attempt in the history.
Please note: the system can store up to 8 attempts of the diagnostic per learner. Should you wish to record more than 5 attempts, an attempt must be deleted. The first attempt cannot be deleted so the baseline is maintained.